

  |
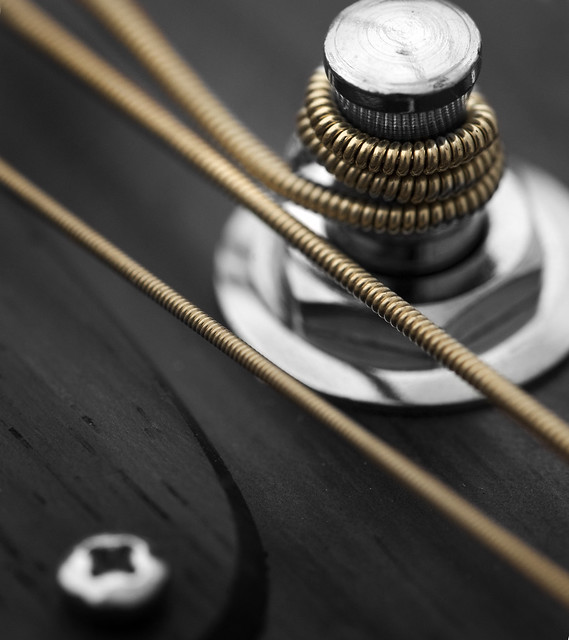
| Photo by keith ellwood |
 is alike to any other guitars, with the two minor differences. On all Fender guitars that have the standard vibrato tailpiece, strings are loaded and attached on the bottom of the body of your guitar. The vintage style Fender machine heads use the slots on the string post, known as the "slotted tuners," instead of your usual string post-holes. The strings ought to always be changed one after another to prevent messing up the neck tension as well as to keep the balance of vibrato tailpiece springs for quick adjusting.
1. Set your guitar either on your lap or on any padded counter, uplifting the neck by way of the petite box or anything that can help hold it up without scratching it.
2. Lay the peg winder on the sixth "E" string-tuning peg, after that rotate clockwise till the string is evidently loosened.
3. Take out the string from post by way of unwrapping your windings and pulling straight up.
4. Remove the string from a bridge via pushing the top of bridge. The end of the string's ball will come out at the base of the guitar, allowing you to easily haul it out totally. If your string windings show hard to pull through top of bridge, you can cut them off with the wire clippers.
5. Unwrap your fresh string, and then place in its tip into the unfilled bridge hole on bottom of your guitar. String will peak through the tip of bridge, allowing you to pull it.
6. Pull your string across your guitar nut, then cut it with the wire clippers more or less 6 in. past a machine head post.
7. Put your cut side into hole in the tuner post, placed on the top of post, between the slots, and bend it more or less 90-degree angle, so it is setted up in the slot to the one side. In case the standard post-holes are utilized, put in your string into hole then bend to side at approximately 90-degree angle before you wind.
8. Put your peg winder then rotate counter-clockwise, while putting the gentle tension on your string. Let the windings to cautiously build and also seat upon one another as they transfer downward with the turns of machine head key.
9. Fine-tune the string to tone, and then do again steps 2 - number 8 for the subsequent strings. The strings do not have to be changed in the order, then again starting on 6th string and replacing in succession develops the good habit, and also enables quicker tracking of the replacement strings as you go through set.
Tips and Warnings
Employ the pitch pipe to assist the tune strings to tone. The electronic tuners are not accurate unless your string is near to being in a tune.
Take the advantage of the string changing operations to do cleaning plus any other repairs on your guitar.
Take your time and be certain that the windings are well-ordered and even. The sloppy string set up is the chief reason for adjusting the problems.
Author: Jared Kloss
I have been playing and teaching how to play guitar for over fifteen years. Many beginners ask me "What is the top guitar for beginners?" That is why I wrote a Fender CD 60 Review. This guitar is best for beginners in my opinion.
|
No comments:
Post a Comment